To take great safari photos, focus your eyes on the wildlife, use a high shutter speed to capture motion, and be ready to capture the moment.
Also, pay attention to lighting conditions, consider using a bean bag for stability, and adjust your ISO to match the light.
This quick guide highlights five easy safari photography tips.
Ready to capture your adventure? Let’s dive in.
Quick Safari Photography Tips
Take memorable safari photos with these simple tips:
Preparation
Your thoughtful preparation creates opportunities for stunning wildlife moments that last a lifetime.
Equipment
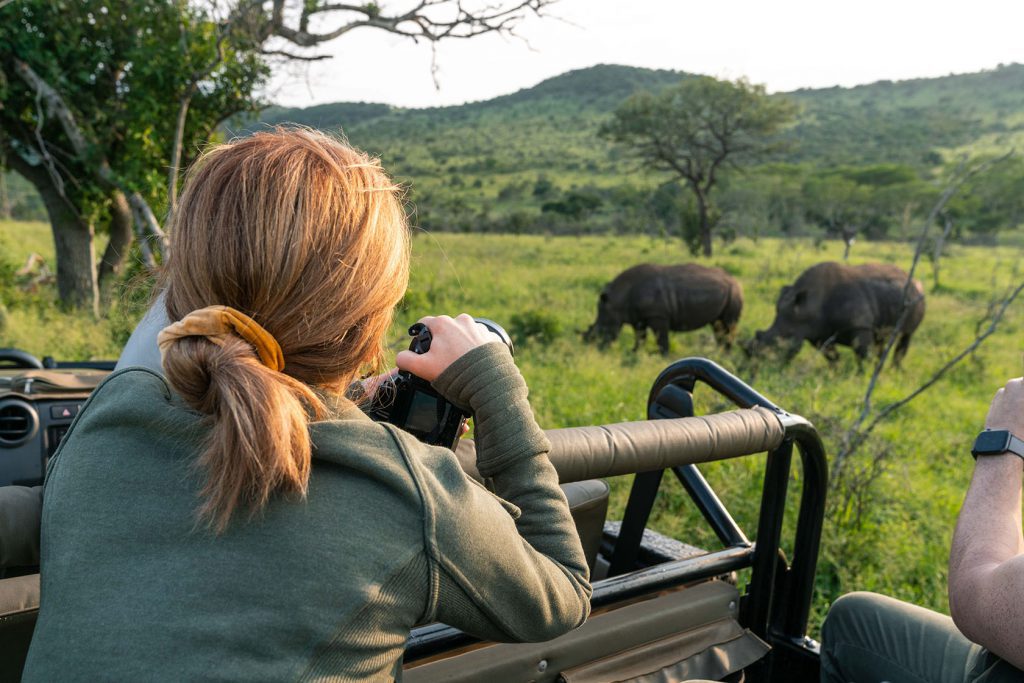
You need a good SLR camera with at least a 300mm zoom lens. Bring a backup camera body if possible.
Camera Bag
Pack lens cleaning tools, dust covers, and a bean bag for stability in your vehicle.
Stay Ready
Keep your camera prepared at all times. Great shots happen unexpectedly.
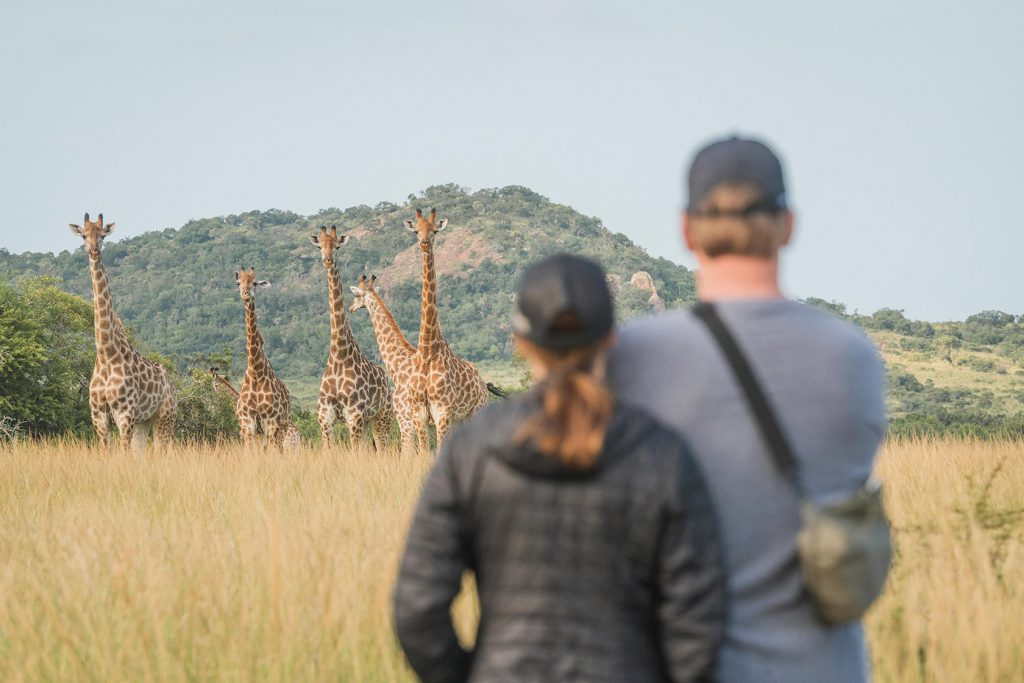
Wildlife Respect
Take photos from a safe distance. Never disturb animals or change their natural behavior.
Technical Tips
Mastering these simple camera settings transforms ordinary safari snapshots into professional-quality wildlife portraits.
Shutter Speed
Use 1/250 or faster to capture crisp action shots without blur.
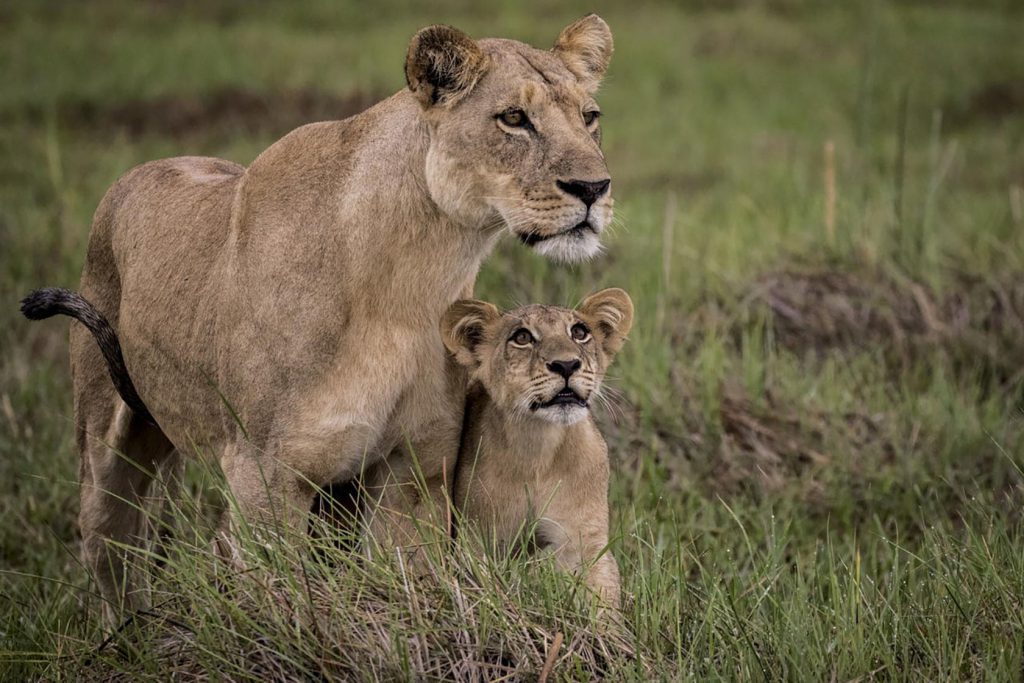
Eye Focus
Focus on animal eyes to create more powerful and engaging images.
Aperture
Select wider apertures (f/2.8 or f/4) to blur backgrounds and highlight your subject.
ISO
Match your ISO to the available light. Use lower settings (200-400) in bright conditions to reduce noise.
Autofocus
Your camera needs fast, accurate autofocus, especially when light is limited.
Composition Tips
Your creative composition choices tell powerful wildlife stories that viewers connect with emotionally.
Light Matters
Pay attention to light direction and quality. It transforms your photos.
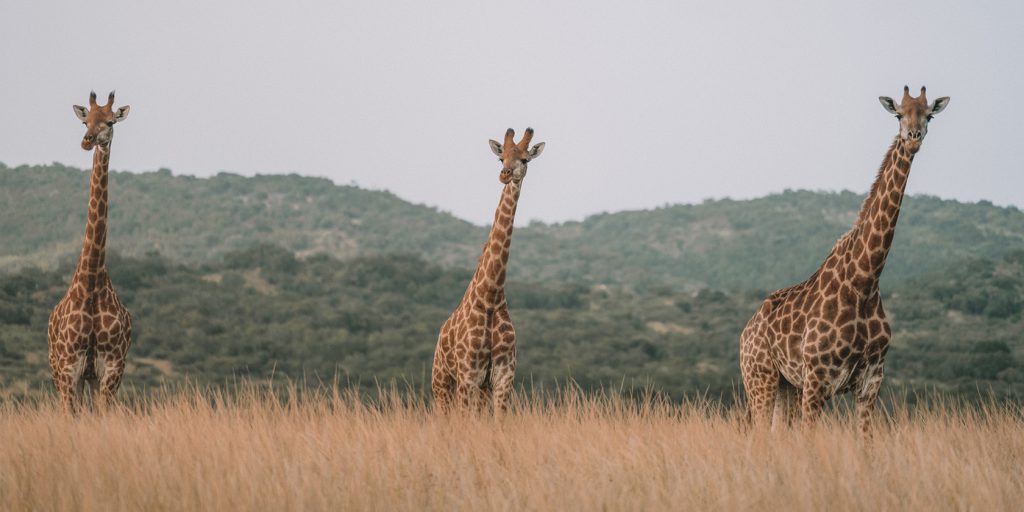
Rule of Thirds
Place key elements at third points in your frame for better visual impact.
Simple Backgrounds
Find clean, uncluttered backgrounds so your subject stands out clearly.
Action Capture
Use burst mode to catch exciting moments of animal movement.
Patient Waiting
Wait for the perfect moment. The best wildlife photos require patience.
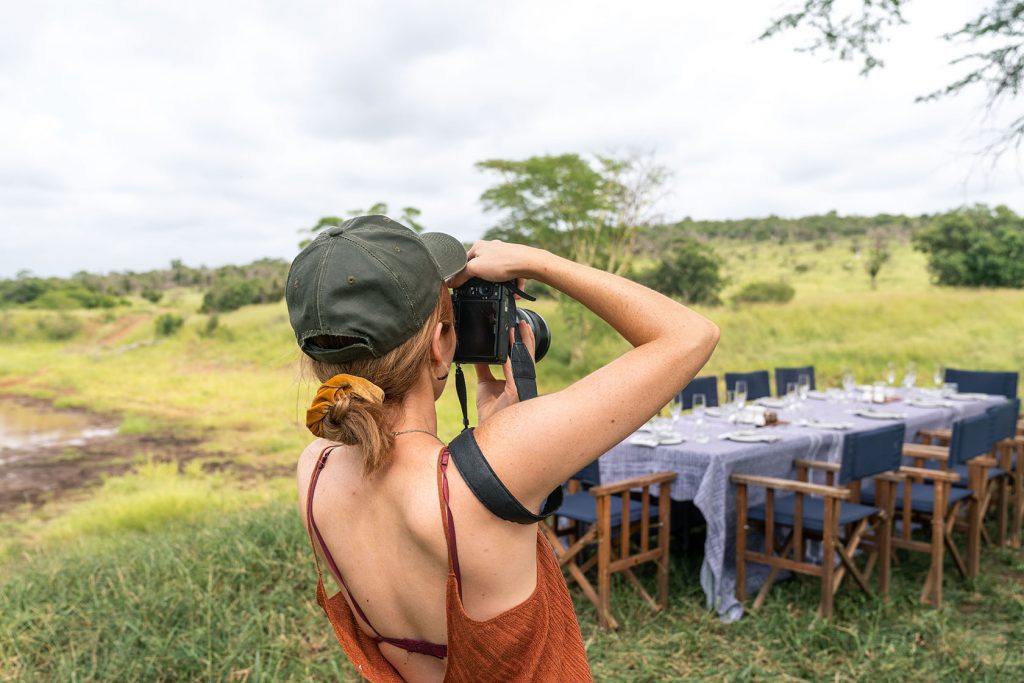
1. Choose the RIGHT Camera
It is no secret that your iPhone has a great camera. But what it doesn’t have is a great zoom lens. And if the professionals could swap heavy telephoto lenses with iPhone camera, you bet they would! But the truth is to get great photos, you need a great camera. And more importantly, you need the right lens (more on that later).
As for which camera to take on safari, you’ve got a few options. The good news is you can rent a camera for the duration of your trip and return it once you’re back. That’s right: you don’t need to invest thousands of dollars on gear! Renting camera equipment is becoming increasingly popular.
I photograph my trips with the Sony A7iii. This has proven to be an excellent investment and although it didn’t come cheap, it has not failed me once in the 4+ years I have been using it on my travels.
A more affordable option would be the Olympus OMD series. These are great choices for mirrorless cameras that pack a punch and won’t weigh you down too much.
Then of course there are some great cameras from both the Nikon and Canon family.
2. Bring Different Lens Choices
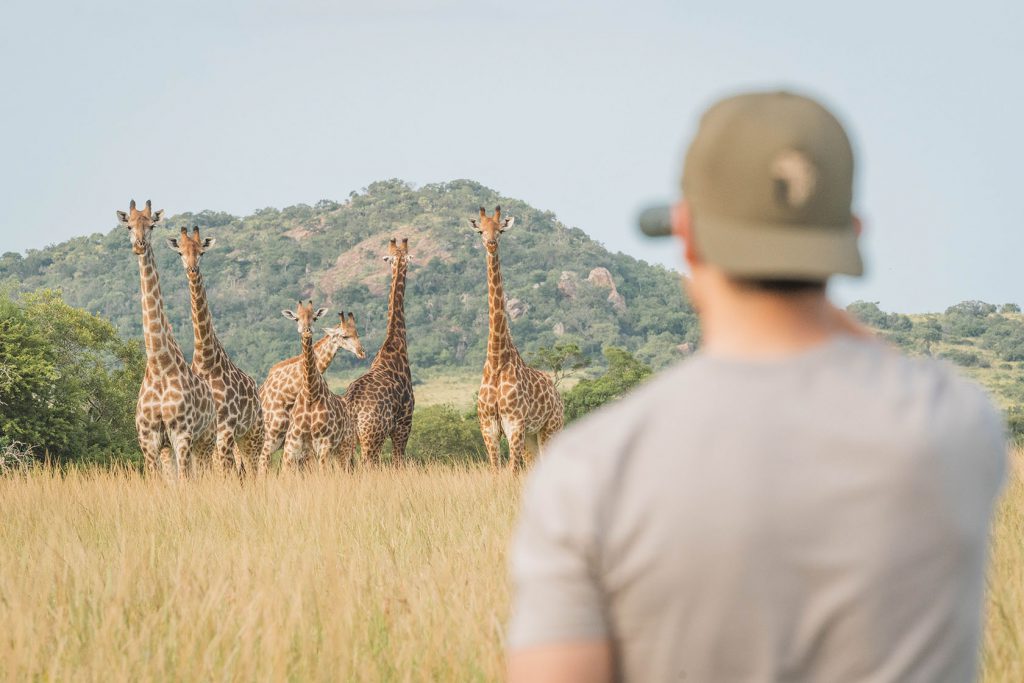
While your camera is important, your choice of lens (or lenses) is even more so. It is important to note that when you are on safari, you are on a wild adventure. So while sometimes you will be far away from the animal you are viewing from the vehicle, other times you will be incredibly close! Therefore the best way to approach your lenses is to have a couple of options.
Telephoto lens – a long ranging lens like a 70-200mm, which will allow you to photograph subjects that are far away.
General lens – I won’t travel anywhere without my 24-70mm lens. This is my workhorse (as they say) and comes in handy for most photographic situations. I love using this lens when I’m within close range to animals.
Wide angle lens – I personally like to pack a 16-35mm lens to photograph safari rooms/tents, plus find it comes in handy when you are trying to get a lot into the frame. This isn’t a necessary lens, but if you’re packing lots of options it never hurts to have a wide-angle.
3. Don’t Forget Vital Camera Equipment
With all of the big equipment out of the way, it’s time to look at the small stuff. After all, a camera is of no use to you if you don’t have the necessary equipment to keep it operational!
Batteries – Always take a spare and/or a charger.
Memory cards – Preferably high speed to allow for little to no downtime.
Lens cleaning equipment – You’ll often opt to leave this out but believe me, it almost always comes in handy! Especially if you are facing changing weather conditions.
4. Use the Burst Shooting Mode
Also known as “sports mode”, this is a great way to ensure you don’t miss that perfect shot. Using burst mode will allow you to take more photos quickly and is essential to taking great photos on safari. This is because the animals often move quickly and even more so when interacting with one another, which often makes for the best shots!
5. Learn to Use Your Camera before the Safari
There would be no point in learning how your camera works while you are already on safari. It’s too late! Be sure to learn how to use your camera before you go and if all else fails, don’t be too proud to use auto mode. Even to this day, I use the Auto function quite often on safari as the lighting conditions can change abruptly, and with animals to photograph, you don’t want to miss the shot!
Remember to Experience the Safari with Your Eyes
While all of these tips will ensure you take better travel photos on your safari, don’t forget to enjoy the experience with your eyes! There are no better memories than the ones you witnessed with your own eyes, rather than through a camera lens. Be sure to keep a healthy balance and make memories that last a lifetime.